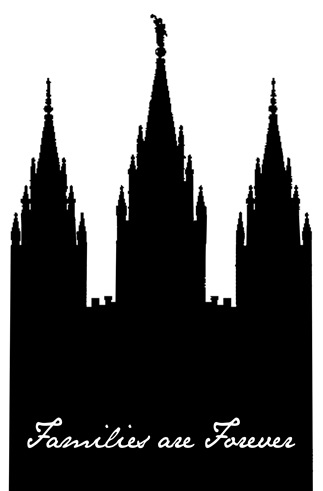
A couple of weeks ago, I posted some Temple Silhouettes as a Friday Freebie. Since then, we’ve gotten lots of comments asking if we had certain temples, or how to do it. So, I thought I’d do a quick tutorial today! I posted all the temples I had done, but here's how to do it yourself. You need some version of photoshop. I’m sure you could use a different photo editing program, I just don’t have a clue about any! I’m pretty much die hard photoshop. I use photoshop 7, but you can do it with pretty much any version as far as I know.
Step 1:
Create a new layer, whatever size you prefer (4x6, 5x7, 8x10, etc. are best for printing purposes). Find an image or picture you want to turn into a silhouette. It is much easier to us an image that has a pretty solid background. The image I’m using is about as simple as it gets, but you can use these steps with any image/picture. So here’s what I’m starting with:
Step 2:
Use the magic wand tool to select and then delete the background around the main image (that will be the silhouette). Use the eraser tool to erase any lingering junk. The goal is to get the background totally white. My image was already like this, but in a picture there will often be sky and clouds that need to be totally deleted, like this one:
Before:
After deleting the background: 
Step 3:
Desaturate (make black and white) the image. Adjust the brightness balance by maxing out the the contrast (all the way to 100) and moving the brightness in the negative direction until right before the entire image goes totally black. The numbers on this vary, depending on the picture. You just have to mess around with it, but this is where it will begin to look like a silhouette...like this: 
Step 4:
Now comes the tedious part. Once you’ve adjusted the brightness contrast, there’s a lot of touching up and erasing that needs to be done to make it look like a solid silhouette. Alternate between the paint brush (with black paint) and the eraser to finish everything off. Do this until you get the result you’re looking for.
Step 5:
Add text…whatever you want to say!
Step 6:
Flatten your image and save as a .jpeg file.
That’s it! Hopefully this all makes sense. Email or comment with questions!
-Emily


No comments:
Post a Comment